Tuesday night saw more DBA taking place at the club, which I thoroughly enjoyed. Seeing as my Seleucids weren't quite finished I just brought my Romans, but other folk brought in plenty of armies so we weren't short for matchups. I have to say, though, that having access to more terrain and performing the setup properly really transformed the game for me, and showed that each and every game can be very different, despite the apparent simplicity of the rules.
Game 1 - Thracians
Euan was my first opponent and decided to use his shiny new Thracian army. Of course, being a new army doomed them to defeat before we even placed an element on the table! To further compound his misery, I threw a one on the 'invader' dice and the Thracians duly became the aggressor, which meant I could choose terrain to my liking. And thus the Thracian horde of auxilia descended on a nice flat, open plain with but a single steep hill, a river and a road!
The Romans lined up the Hastati and Principes (Blades, both) neatly along the road with the two Triarii (Spears) on the far side of the river. The cavalry and General shored up the left of the main infantry line and the Velites went into a support position behind the Blades. Euan opted for the light horse option and placed them all on his left. The rest of his Auxilia stretched in a continuous line from the cavalry to the river. Once he'd deployed I was allowed to swap two elements which meant I brought the Triarii across to my right and against the light horse. I think we might have got that slightly wrong in allowing two pairs of units to be swapped, but I doubt it would ahve made a difference (the Blades would simply have been at -1 compared to the Spears, but there would still have been one Spear element over there). And so we just went at each other. Euan tried to slide an element of horse past the end of my line, but mistimed the move a little allowing the Triarii to wheel to the left and put the horse in their ZOC. The horse decided to just try their luck, buit one outright kill and a recoil into the General meant that I was 2-0 up quite quickly. On the right, my two Hastati on the far bank of the river moved to try and flank the Thracians, but never quite made it. At that end of my main battle line an element of Hastati and my Cavalry and General attacked the Auxilia facing them, but only succeeded in recoiling back! In the next couple of turns they went back in and the Roman quality eventually told (i.e Blades vs Auxilia) and the end of the Thracian line was broken and rolled up. A solid 4-0 outing for the Republic!
Game 2 - Gauls
Alasdair was my second opponent and he decided to use the Gauls after just having his Marian Romans thrashed by them! Would the Polybian Romans fare any better? Well...no! This time the 'invader' die went to form and the Romans were the aggressors, leading to a table dominated by steep hills and woods. Perfect for those Warbands, but not so perfect for my highly drilled legionaries.
The Gauls weighted their line to the left, directly in front of their camp and behind a steep hill. The only open terrain was to the right of their side and the Gallic cavalry was lurking there. On my side I weighted my left in an attempt to swing round into the clear and threaten their camp. At least that was the plan! On my far left I had the Principes and a Velite. Next, in some woods were the Hastati and Velites. Finally between that wood and the next one were the Triarii and Equites and General. The broken terrain made moving difficult and before long the woods and hill to my right were teeming with barbarians. I eventually managed to shake out into a semblance of a line, but only after a flank element of Hastati had been picked off by the Gallic horse and some terrible dice rolling on my part! After some shuffling about and a tense stand off the battle lines clashed across the front. Again, the Dice Gods had deserted the Romans so far from home and I just could not duoble any of Alasdairs elements. After a couple of rounds of combat I had lost another couple of elements to the Warband quick kills and Alasdair managed to sneak his lone Psiloi element over to my camp which was duly sacked and the baggage thoroughly looted. An ignominious 0-5 defeat was the result (I lost 3 elements and the camp counts for 2, hence the 5). Although I got drubbed in this game I did enjoy it, as it really illuminated how important the terrain is as well as the matchups. On hindsight I really should have tried to get the Triarii more central in my line as they would have been much more durable against the Warbands, but you live and learn. It helps that learning is so much fun! :)
About Me

- Black Smoke
- I'm a bit of a born-again wargamer! I played many of the Games Workshop games when I was in my teens and early twenties, but left the hobby behind when I went to University. Over the last few years I have gradually got back into it and am literally having a ball! I'll play pretty much anything now, ranging from ancient historical to the far future! I think that I get more out of the painting side of things than actually playing, but that might just be because I get more opportunity. Hence the title...this blog is all about the colour of war!!
Thursday, 23 September 2010
Sunday, 5 September 2010
Small, but perfectly formed?
On Friday I finally managed to get the Romans and Seleucids on the table for a first taste of DBA. OK, a couple of elements of the Seleucids weren't finished and I haven't made camps yet, but we just decided to get on with trying it out. Terrain was also a bit of a problem as I don't really have anything small enough, but we reckoned that was no bad thing as it allowed us to concentrate on the rules and learning them. Being the first attempt at DBA by either Carl, James or myself I'm pretty sure we probably did something wrong, but overall I think the games were decided by the right deployment and strategy rather than any quirks of the rules, so overall I was very pleased with how the battles 'felt'.
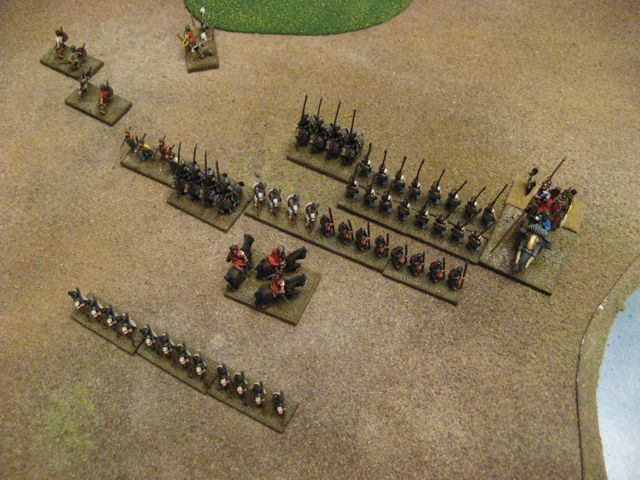
We laid a pretty flat table with a river and one hill and then diced for the invaders table edge (the Romans were the aggressors...who else?!). Below is the starting setups.

I played the Seluecids and set up with my pike block between the hill and river with the elephant and one psiloi on their left and the cataphracts on the right. The hill was held by the auxilia, warband and psiloi, with the scythed chariot on the far right. The Romans (Carl and James collaborated in playing them) started in two lines with the spears on their right and half the blades on the left of the first line. One cavalry element was on the right flank and the psiloi on the left. The General lurked behind the first line and the rest of the blades in the rear line (not in shot). I thought that having a full quarter of your army so far in the rear immediately put them at a disadvantage. I think they should have been a lot closer to the front line. Also, none of us realised how little effect a river has and we seemed to treat it as a real barrier, so the battlefield was a little more squashed than it should have been.
The first few turns saw the lines approaching each other cautiously. As neither of us really knew the rules I think none of us really knew what was going to happen. I decided to throw my chariot at his psiloi in the misunderstanding that they would mow them down, but all I got was a recoil before the chariots were destroyed. Afterthought showed that this is actaully the right outcome...what was I thinking? Chariots against loosely ordered men that can dodge out the way? At least I could be satisfied it didn't count for a lost element! :)


To even things up, though, the Romans pitted their cavalry against my elephant without realising the inevitable outcome and were quickly destroyed. This seemed to stall the Roman advance...I think the wall of pointy sticks coming at them was a bit intimidating. At this point I was reasonably confident the double ranked pikes were safe from the triarii spears so I looked towards pitting the cataphracts against his hastati. I moved the auxilia and psiloi to neutralise the Roman psiloi and split the warband off to joint the cataphracts to get into position to prevent an overlap.


Finally the battle lines clashed as the cataphracts went in with the phalanx and elephant trailing behind. One element of cataphracts was recoiled, but the general and the warband at the end of the line steamrolled the hastati and at that point victory seemed assured. On my right flank I lost a psiloi to the velites, but the Thracian auxilia held their own.
The coup de grace was delivered by the general and warband charging the principes in the second line and destroying the end element. In the meantime the phalanx and spears got into a shoving match with no outcome other than recoils, but that was expected. Thus the Roman invasion of the Seleucid Empire was snuffed out...! :)

I thoroughly enjoyed this game and the subsequent one where we reversed roles. We were so engrossed by then, though, that lack of photos means I won't recount it, safe to say that the deployment once again settled the engagement almost before the first pilum was chucked!! Did I like DBA after all the build up and painting effort? Yes, I did! I get that it's abstract, but much like Commands and Colours, it feels like a full blown ancients game. We sat and thought about the tactics and the matchups, rather than numbers and charts, so it really does live up to the quick play claim. We finished both these games in 2 and a quarter hours...not bad for a first go at a rule set. Also, the results were quite credible. In the first game the Roman flank crumbled leaving the Romans defeated and the second the game was won by the Roman cavalry riding down the Seleucid psiloi and the phalanx breaking ranks due to a threat on the flanks. this let the Roman gladius to get into a single rank of pike with only one outcome!
But I feel I'm preaching to the converted! I'm reasonably sure that we're in a very small minority of wargamers that haven't played DBA before!
Wednesday, 18 August 2010
Seleucid phalanx
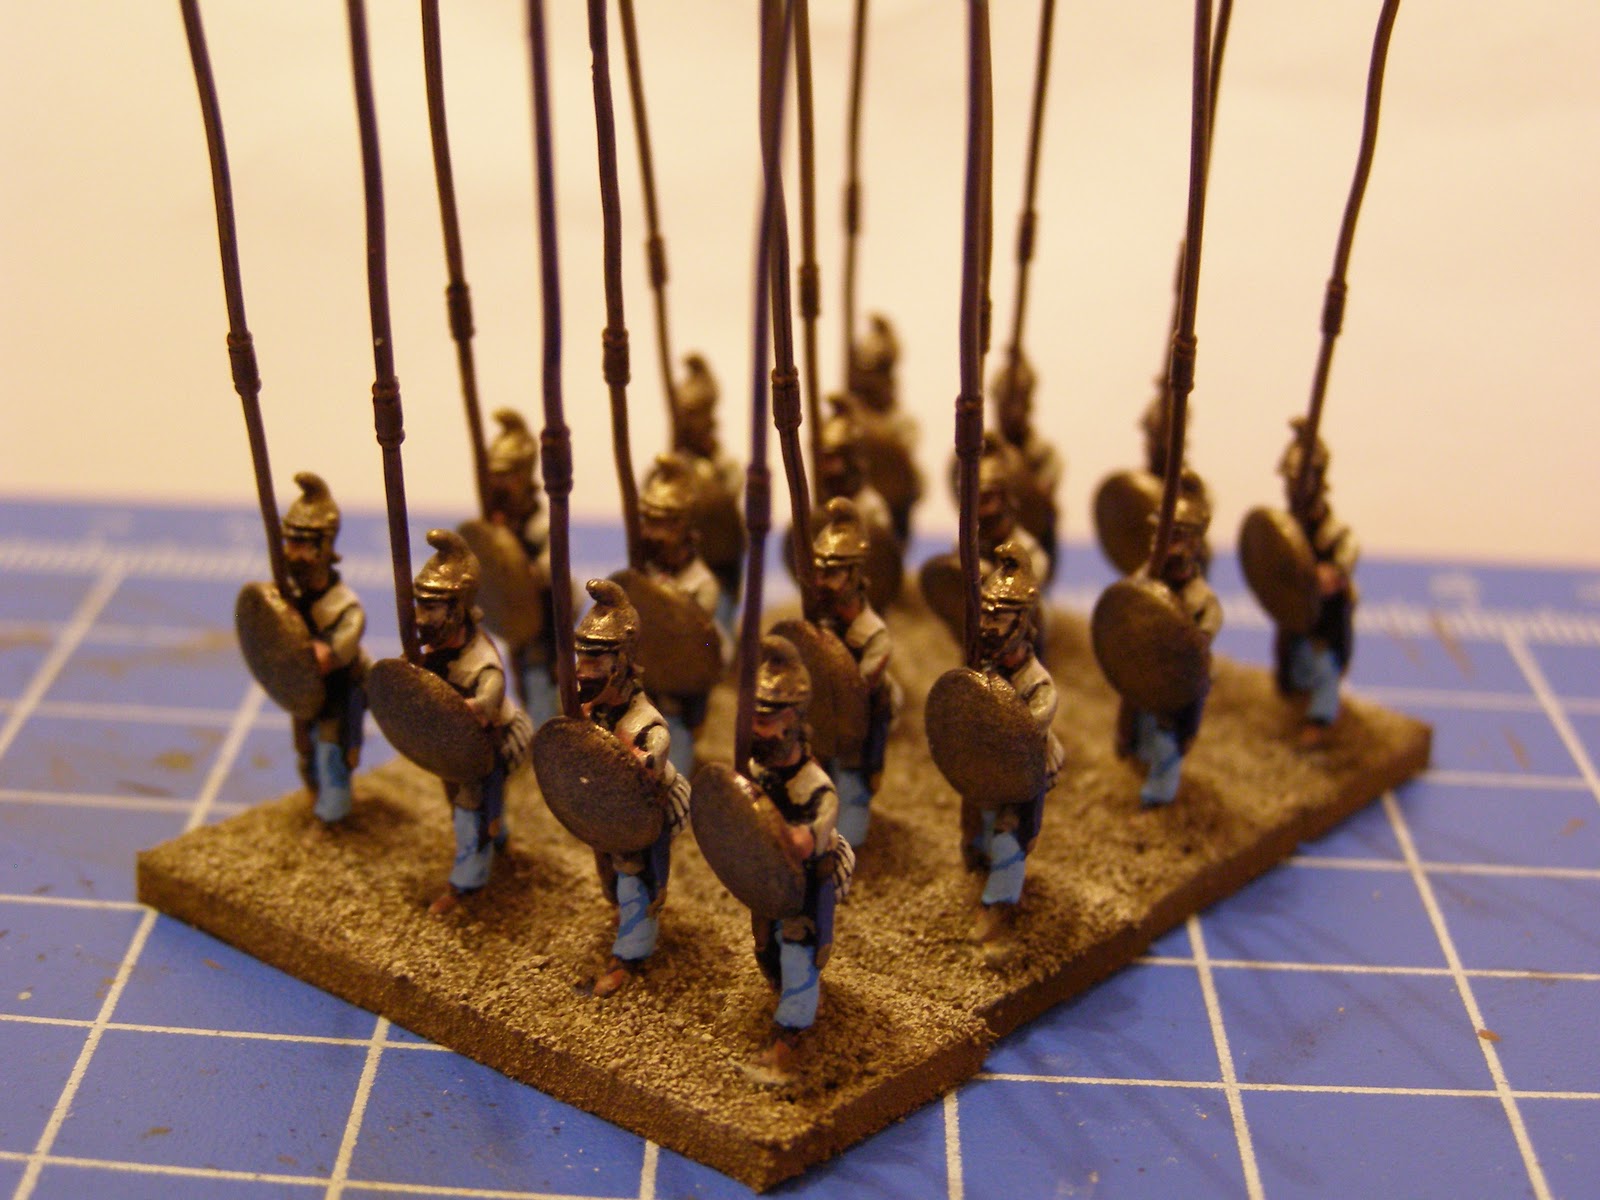
Not had a lot of time for gaming and painting over the last couple of weeks. I think I was just resting after frantically getting the planes ready for CY6! and finishing the Romans. I have managed to crank out the first 4 elements of my Magister Militum Seleucid DBA army, however. Again, I'm quite pleased with how fast ancients are to paint and how quickly tou can get through a DBA army. After all, these 4 bases are a full third of the whole! I really like the look of a phalanx, too, so I can't wait to expand them to an 8 base FoG battlegroup. The Magister Militum figures are superbly well detailed, too. They're a little chunkier than the Essex, but it's a style that I think really looks good.
I've also ordered the shield transfers and some stuff for the camps, so I should be up and running for DBA soon. Next up are the cataphracts which are primed and ready to go. They should be super easy...! :)


I've also ordered the shield transfers and some stuff for the camps, so I should be up and running for DBA soon. Next up are the cataphracts which are primed and ready to go. They should be super easy...! :)


Wednesday, 4 August 2010
Adlertag
Last night saw the second game in the club's Battle of Britain campaign and this time my camera worked, so I thought I'd post a report here.
For this game I took a couple of scenarios from the BoB sourcebook and had 2 flights of Luftwaffe bombers, each of 6 aircraft. One flight consisted of Ju-88s and the other He-111s. Escorting these were two schwarms of escorts, one of Bf-109s and one of Bf-110s, each of which was assigned to a bomber flight and had to start and stay within 5 hexes of any bomber until attacked or any bomber was fired on. The ranking German player was given the option of holding 2 aircraft of his choice off table as hunters. He opted to keep 2 of the Bf-110s off with orders that they could deploy the turn after any bomber was attacked, but must not start within 5 hexes of any enemy fighter.
The RAF players had three flights of 3 aircraft each, 2 flights of Hurricanes and 1 of Spitfires. The ranking British player rolled a die for each flight to determine the table edge they would appear on. Fortune favoured the RAF here and the Spits appeared directly ahead of the Heinkels and both Hurricane flights off their starboard side. It was going to be a tough day in the office for the Heinkel pilots!

The Hurricanes came at the Heinkels through the far cloud bank in the picture above and split their fire amongst the escorts and bombers. They very quickly damaged one bomber and drew the Bf-109 escorts away, leaving some of the RAF fighters to get amongst the bombers.

The very next turn saw the hunters descend into the fray and attempt to bounce the attacking Hurricanes (this elicited the classic quote of the day from Michael - 'Where did they come from?!').

Unfortunately for the Luftwaffe, the hunters didn't press their advantage well enough and failed to bag any of the RAF aircraft. More disastrously, 2 of the 109 escorts were shot down in very quick succession and a third suffered a lucky hit that saw the pilot lose control and spin out. This pilot only managed to salvage the situation after dropping from TAL 5 to TAL 1 so was effectively out of the combat. By now the concentrated fire had sent the damaged Heinkel into the Channel and damaged a second. Meanwhile, the Spitfires had looped around the front of the Heinkel formation to take them on from the far side (you can just see the bases past the nearest clouds in the following picture).

In the last few turns the Spitfires attacked and the damaged Heinkel was shot down, quickly followed by a third. A fourth Heinkel was damaged late on, too, effectively destroying the striking power of that half of the bomber formation. Two Hurricanes had to disengage after expending all their ammo, too. The Ju-88s all managed to slip into the clouds and proceed to their target, but the RAF had done their job. The British actually only lost one green pilot when he decided to attempt to take on the Ju-88s himself and was pounced on by the escorting Bf-110s. The last photo really tells the tale of this game. You can clearly see how the Heinkels escorts were separated from their wards and kept out of the fight while the RAF managed to keep very concentrated.

All in, this was a very fun game to run and I think everyone really enjoyed the game. The clouds added a nice dimension to the game and the random RAF deployment and Luftwaffe hunters added some spice to the proceedings.
Tuesday, 3 August 2010
DBA army finished
Where exactly did the month of July go? I suppose it was washed down the gutter with all the rainwater!
However, I did get through quite a lot of painting and my Polybian Roman DBA army is now completely finished. I also received a DBA mat from Terrain Mat and I have to say I'm delighted with this particular purchase. It simply looks fantastic, especially with the bases painted to suit it! I am seriously tempted to buy some larger mats for our 6 x 4 table. I also painted a Dalek figure for James, who's birthday fell in the middle of the month (Happy Birthday, James!), so that was a pleasant distraction from the ancients. The last week I've been furiously preparing for the next Check Your 6! campaign game at the club, too, so I'm keeping my fingers crossed that the camera doesn't play up this time!!!
On to the pics of the army and that glorious mat (seriously...you want one of these!)


Saturday, 17 July 2010
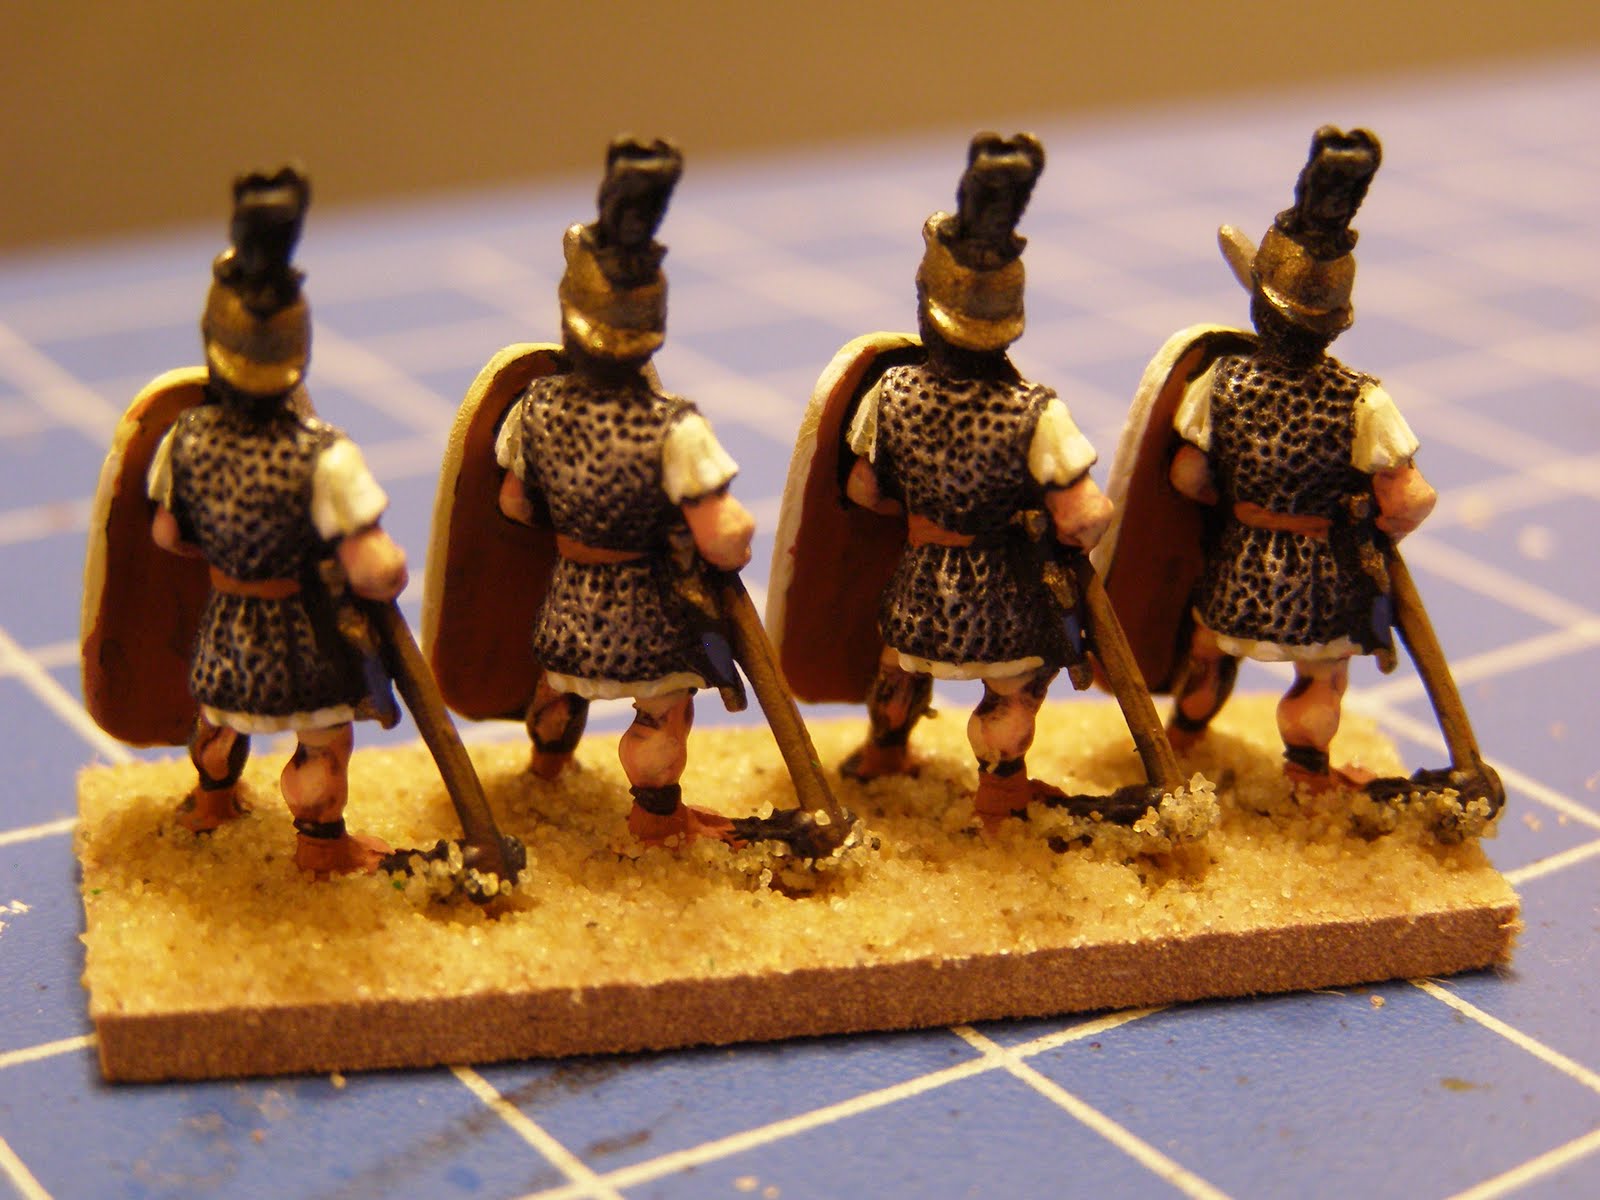
Triarii and Velites done!
Painting has been going on at a reasonable pace and the DBA army is almost done except for finishing the bases. Somehow it feels that these figures took longer than either the Hastati or Prinicpes, but probably not by much. I did take a bit more care over the Triarii as befits their status, plus the colours are a little harder to paint for the colourblind amongst us. There was a bit of mixing with the reds, particularly on the shields, as I wanted them to be a bit darker than the tunics so I added a bit of Vallejo Brown Violet to Flat Red to acheive that. I hope you like the results!
On to the cavalry next...gulp!


On to the cavalry next...gulp!


Monday, 12 July 2010
Principes done!
Here's some photos of the completed Principes for the DBA army. I have to say, I'm really liking prepping this army, if for no other reason than I've done 6 bases and I'm half done!!
For these, I decided to do white tunics and shields again, as the chainmail really makes them stand out from the Hastati but keep some uniformity. It also means they could be grouped together into a single battlegroup for FOG eventually. However, I decided to try a different tack with the white this time. The Hastati were base coated with Vallejo German Camo Beige and highlighted with Iraqui Sand and white, which worked well, but I felt the contrast was a bit too much and it made the shields a pig to paint. For these I used Vallejo Beige to basecoat with Pale Sand and white highlights. I think the shields look better but perhaps the effect is too subtle on the tunic sleeves, though the Principes can afford better bleach! I will be doing some white tunics on the psiloi too, so I might try to meet half way and start with Iraqui Sand. We'll see!


Subscribe to:
Posts (Atom)