
The Rule Book
Force on Force is published by Osprey in collaboration with Ambush Alley Games who designed the rules. I believe there were actually two volumes formerly produced by AAG and this version is actually the combination of them both. Unsurprisingly, the quality of the book is excellent with lovely plates of modern soldiers in full colour as well as photos of actual men in combat situations, which really beds you into the atmosphere and theme of the game. There is are also a few photos of miniatures to remind you that this is a wargames rule set! There are the usual chapters on movement and shooting, but there are also chapters on armoured combat, air support and artillery. Possibly of most interest, though, is the section on asymmetric warfare. So this is regular troops against irregular forces, such as the Taliban or Iraqi forces in the later stages of the second Gulf War. There is also a campaign section to take these rules a step further.
There is one criticism that I will lay at the feet of the publishers, which is it's poor layout. Some important rules are laid out in later sections after they have been mentioned, such as the action/reaction sequence. When you're reading through the rules it all makes perfect sense, but it can be quite frustrating trying to find something during play. Once you have the rules in your head, though, this is less of an issue and there is ample support in the form of the AAG forums. On the whole, this is really nice book and an attractive addition to any wargamer's bookshelf.
The Game
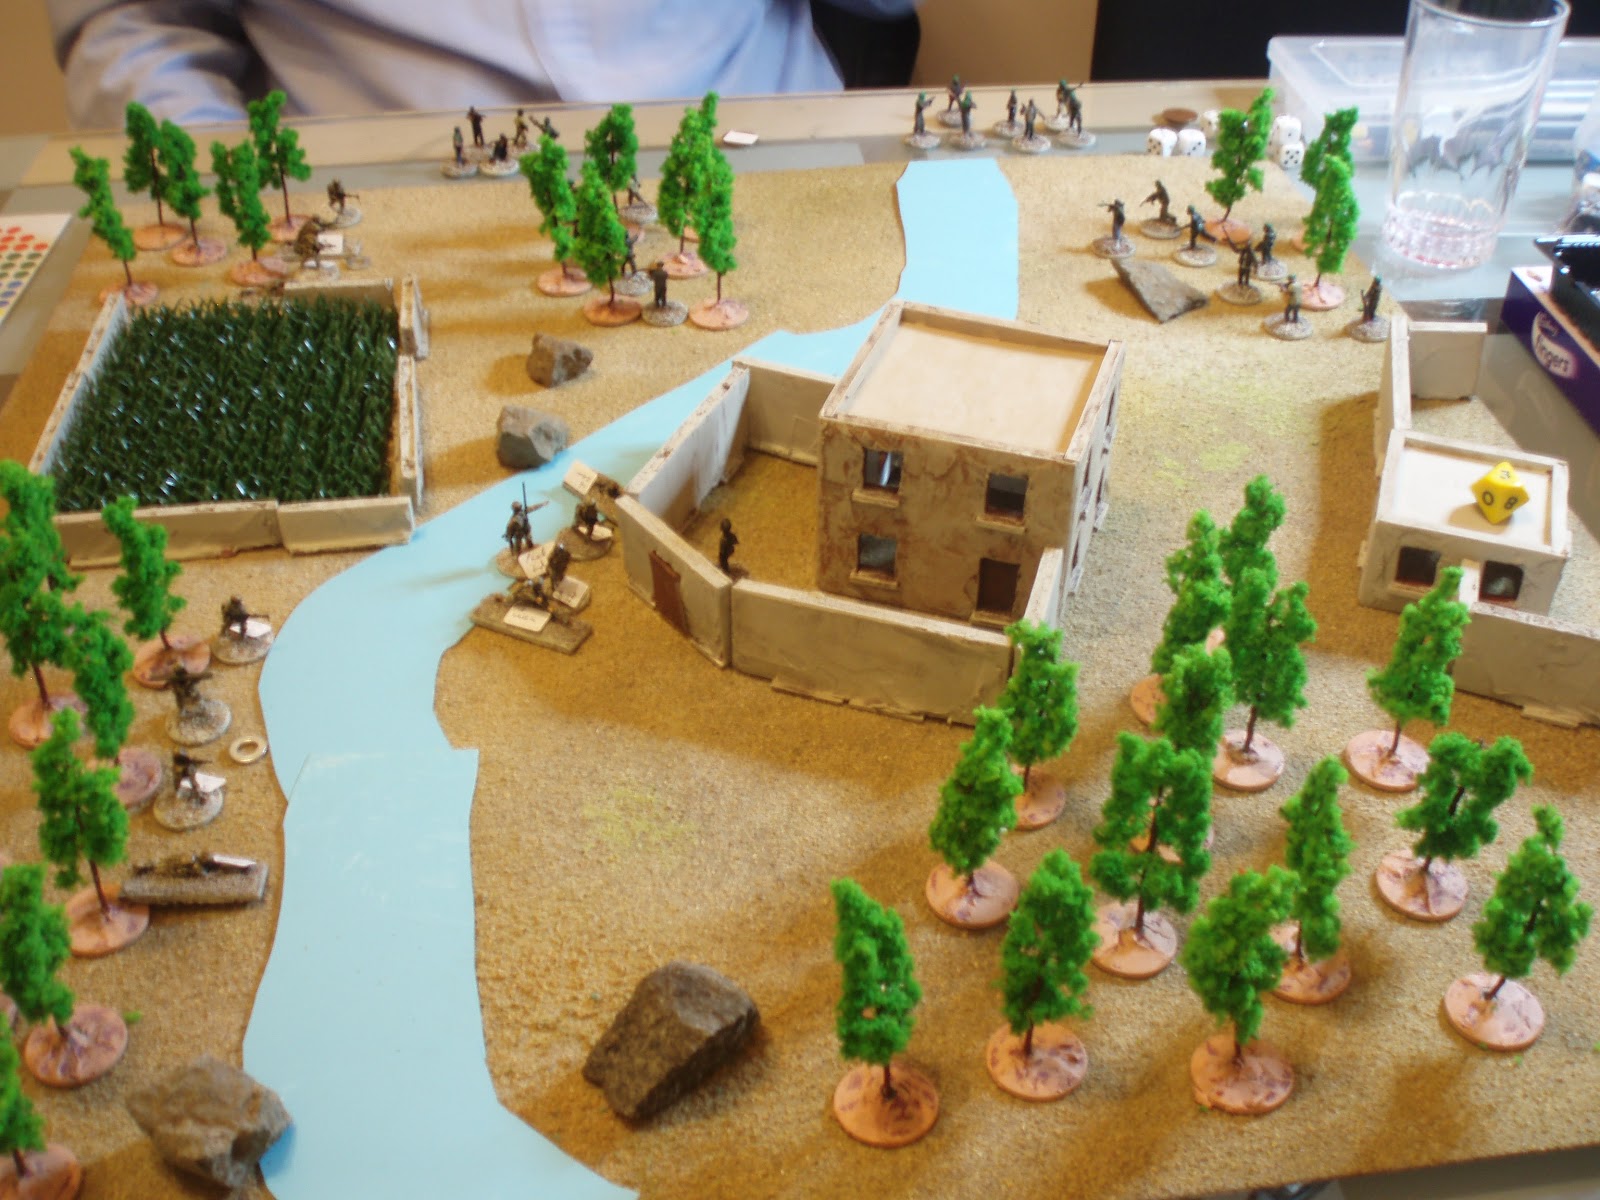
Now it's time to examine the rules in the context of our game. The situation is a downed pilot is hiding in the grounds of a house in Taliban territory and a British section has been dispatched to retrieve him. There is definitely enemy activity in the area so the Brits must be careful. Here's the setup - the Taliban forces are all hiding and so are not deployed on the table:
 |
| The battlefield. Perhaps taken by a UAV! |
 |
| The scene from behind Fireteam Charlie looking towards the objective. |
The Dice Mechanism
Each side is rated for it's initiative, quality and morale. The ratings are expressed in terms of a type of dice. Poor quality militia will have a Troop Quality (TQ) and Initiative of D6, while regulars are usually D8. In FoF there is a 'nearly universal' rule that whenever you roll a die, a result of 4 or more is a success. Let's examine that, as it's key to the game mechanics. You are always looking for a 4 or more, so the higher the quality of your men, the more likely you are to roll a success. So, in that second turn, how did the Taliban gain the initiative? They had four units, generating them 2 dice. They also had the initiative last turn which added another die. They also added another die for outnumbering the enemy. So they had 4. The British had 3 units, so they only got one die. So the Taliban rolled their 4D6 against the British 1D8. They rolled more successes than the British so retained the initiative.
The Trap is Sprung - How to React!
 |
| The Taliban appear out of nowhere in the treeline! |
Shoot Straight!
Each figure in the firing unit generates a Firepower (FP) die which are of the TQ type (i.e. TQ of D6 means your FP are also D6). Support weapons like SAWs and RPGs add extra FP. The defending unit then counts up the number of figures in the target unit and compares to the number of FP dice. He then takes the number of TQ dice equal to the lower of the two numbers. So, for example, in our ambush, the Taliban have six figures firing. One carries an RPG, so they have 7 D6. The British fireteam is only four strong, so they get 4D8. They have body armour and are in cover, so they get two extra dice for 6 total. They are rolled simultaneously :

Any failed rolls (3 or less) don't count. Then, the defender tries to negate any FP dice with defence dice of equal or higher value. So here's a picture of a British attack roll that happened later in the game with all the failures removed and the remaining D6 defence dice canceling out those D8s that they can:
 |
| Here comes the pain! |
The Story Unfolds!
We've had a brief look at the nuts and bolts of the game, so let's see how the battle unfolded. The British, having survived the first shots, now managed to seize the initiative (which they would hold for the rest of the game bar one turn). The flank fireteams fell into overwatch while the central fireteam crossed the stream heading for the objective.
The Taliban revealed a second unit on the British right, but using fire and maneouver the British forces pinned them and advanced the right flank to screen the central troops grabbing the pilot.

By now, more Taliban were coming out of the woodwork and a group made a beeline for the pilot's hidey hole to try and prevent his escape. However, the vigilant British on the right were alert to the danger and poured fire on them in reaction to their appearance.

More enemy troops poured in through the woods and the British right soon found themselves under a lot of pressure. One soldier was hit, but luckily he was only lightly wounded and could carry on fighting. Their work was of great value, though, as the section leader signalled to the pilot to follow and they set off for the safety of their own lines.


Meanwhile, on the left a sharp exchange of fire saw the Taliban threat neutralised and the British surged in to capture the remnants.

As the Taliban casualties mounted through accurate fire from the British they were powerless to act as the pilot was safely escorted across the stream and into the safety of the woods beyond.

This was a very enjoyable game. The high quality of the British really turned the battle and on at least two occasions the Taliban rolled some very good dice, only to be thwarted by numerous 7s and 8s from the British. Force on Force is simply a very, very good game. The games are all scenario based and provide a strong narrative and very believable results. I really have only skimmed over the core of the rules, in particular the action/reaction sequence that has some very subtle nuances that are most satisfactory. If your interest has been piqued then I guess you'll have to buy the rules! I highly recommend anyone interested in skirmish games or modern warfare do so!
This is excellent for two reasons, it's a good batrep and secondly I just bought these rules and this has helped immensely, damn nice work and will have to bookmark this page....
ReplyDeleteThanks, TAL! Glad it's of some help. You've made a great choice of rules for your Franonian setting. As I allude to, the rules can be a little frustrating to navigate for the first game or so, but if you stick with it, it all becomes clear. I'll probably write another post soon about the action/reaction system as it needs more attention than I wanted to give in this post, but in the meantime, I'd also recommend reading the AAG forums.
DeleteBookmarked, too. Good work on explaining the rules as well.
ReplyDelete