About Me

My photo
I'm a bit of a born-again wargamer! I played many of the Games Workshop games when I was in my teens and early twenties, but left the hobby behind when I went to University. Over the last few years I have gradually got back into it and am literally having a ball! I'll play pretty much anything now, ranging from ancient historical to the far future! I think that I get more out of the painting side of things than actually playing, but that might just be because I get more opportunity. Hence the title...this blog is all about the colour of war!!

Wednesday, 18 August 2010

Seleucid phalanx

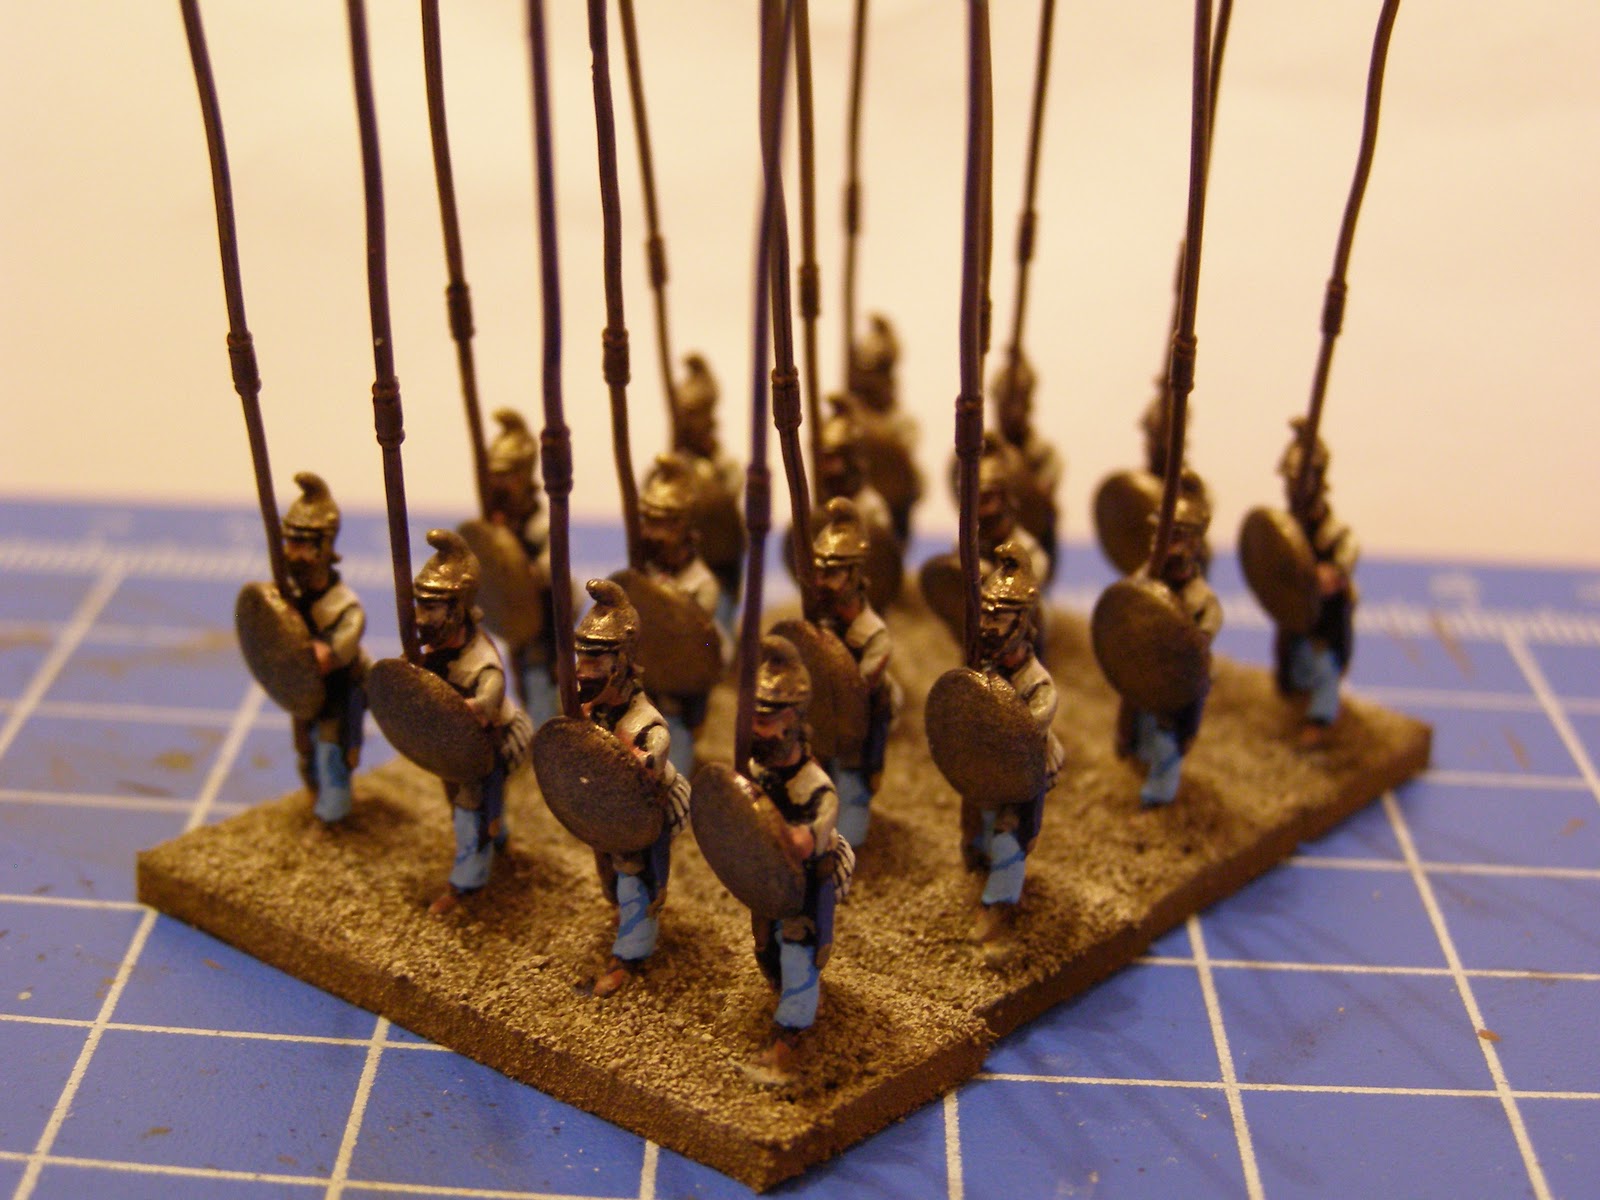
Not had a lot of time for gaming and painting over the last couple of weeks. I think I was just resting after frantically getting the planes ready for CY6! and finishing the Romans. I have managed to crank out the first 4 elements of my Magister Militum Seleucid DBA army, however. Again, I'm quite pleased with how fast ancients are to paint and how quickly tou can get through a DBA army. After all, these 4 bases are a full third of the whole! I really like the look of a phalanx, too, so I can't wait to expand them to an 8 base FoG battlegroup. The Magister Militum figures are superbly well detailed, too. They're a little chunkier than the Essex, but it's a style that I think really looks good.

I've also ordered the shield transfers and some stuff for the camps, so I should be up and running for DBA soon. Next up are the cataphracts which are primed and ready to go. They should be super easy...! :)


Wednesday, 4 August 2010

Adlertag

Last night saw the second game in the club's Battle of Britain campaign and this time my camera worked, so I thought I'd post a report here.

For this game I took a couple of scenarios from the BoB sourcebook and had 2 flights of Luftwaffe bombers, each of 6 aircraft. One flight consisted of Ju-88s and the other He-111s. Escorting these were two schwarms of escorts, one of Bf-109s and one of Bf-110s, each of which was assigned to a bomber flight and had to start and stay within 5 hexes of any bomber until attacked or any bomber was fired on. The ranking German player was given the option of holding 2 aircraft of his choice off table as hunters. He opted to keep 2 of the Bf-110s off with orders that they could deploy the turn after any bomber was attacked, but must not start within 5 hexes of any enemy fighter.

The RAF players had three flights of 3 aircraft each, 2 flights of Hurricanes and 1 of Spitfires. The ranking British player rolled a die for each flight to determine the table edge they would appear on. Fortune favoured the RAF here and the Spits appeared directly ahead of the Heinkels and both Hurricane flights off their starboard side. It was going to be a tough day in the office for the Heinkel pilots!


The Hurricanes came at the Heinkels through the far cloud bank in the picture above and split their fire amongst the escorts and bombers. They very quickly damaged one bomber and drew the Bf-109 escorts away, leaving some of the RAF fighters to get amongst the bombers.


The very next turn saw the hunters descend into the fray and attempt to bounce the attacking Hurricanes (this elicited the classic quote of the day from Michael - 'Where did they come from?!').


Unfortunately for the Luftwaffe, the hunters didn't press their advantage well enough and failed to bag any of the RAF aircraft. More disastrously, 2 of the 109 escorts were shot down in very quick succession and a third suffered a lucky hit that saw the pilot lose control and spin out. This pilot only managed to salvage the situation after dropping from TAL 5 to TAL 1 so was effectively out of the combat. By now the concentrated fire had sent the damaged Heinkel into the Channel and damaged a second. Meanwhile, the Spitfires had looped around the front of the Heinkel formation to take them on from the far side (you can just see the bases past the nearest clouds in the following picture).


In the last few turns the Spitfires attacked and the damaged Heinkel was shot down, quickly followed by a third. A fourth Heinkel was damaged late on, too, effectively destroying the striking power of that half of the bomber formation. Two Hurricanes had to disengage after expending all their ammo, too. The Ju-88s all managed to slip into the clouds and proceed to their target, but the RAF had done their job. The British actually only lost one green pilot when he decided to attempt to take on the Ju-88s himself and was pounced on by the escorting Bf-110s. The last photo really tells the tale of this game. You can clearly see how the Heinkels escorts were separated from their wards and kept out of the fight while the RAF managed to keep very concentrated.

All in, this was a very fun game to run and I think everyone really enjoyed the game. The clouds added a nice dimension to the game and the random RAF deployment and Luftwaffe hunters added some spice to the proceedings.

Tuesday, 3 August 2010

DBA army finished

Where exactly did the month of July go? I suppose it was washed down the gutter with all the rainwater!

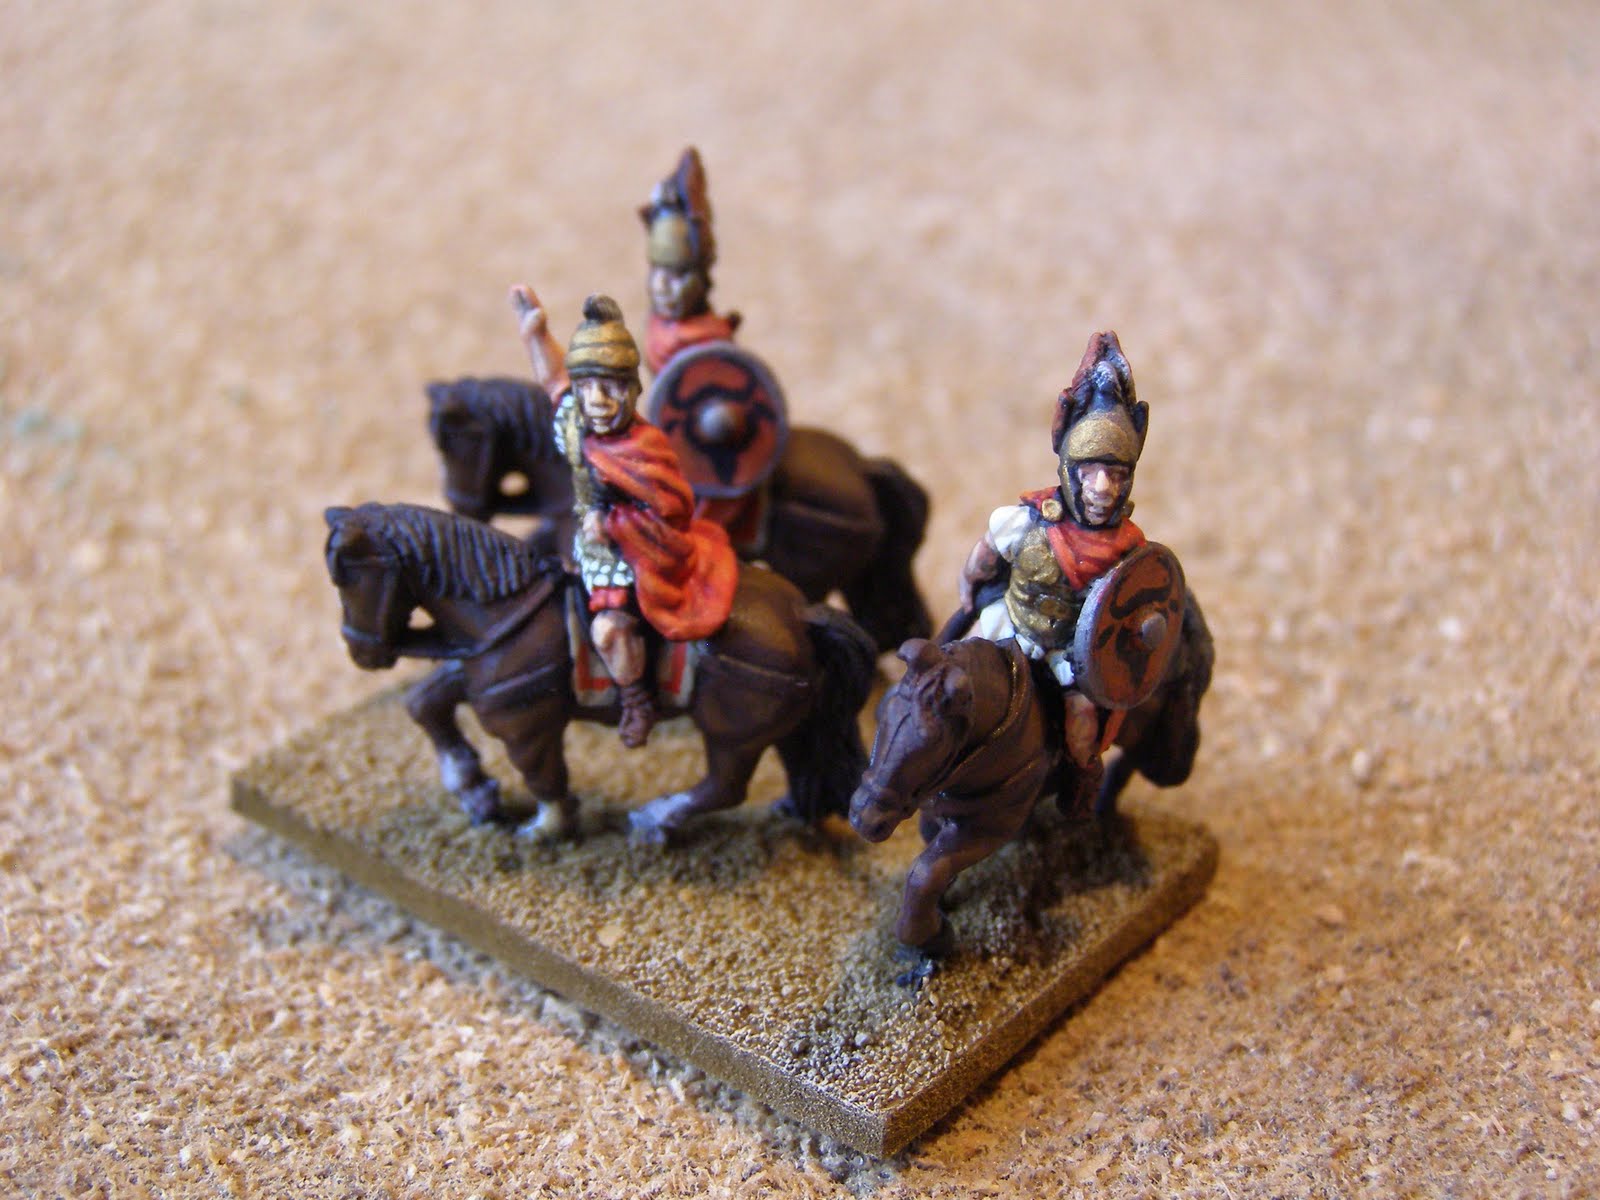
However, I did get through quite a lot of painting and my Polybian Roman DBA army is now completely finished. I also received a DBA mat from Terrain Mat and I have to say I'm delighted with this particular purchase. It simply looks fantastic, especially with the bases painted to suit it! I am seriously tempted to buy some larger mats for our 6 x 4 table. I also painted a Dalek figure for James, who's birthday fell in the middle of the month (Happy Birthday, James!), so that was a pleasant distraction from the ancients. The last week I've been furiously preparing for the next Check Your 6! campaign game at the club, too, so I'm keeping my fingers crossed that the camera doesn't play up this time!!!

On to the pics of the army and that glorious mat (seriously...you want one of these!)


Saturday, 17 July 2010

Triarii and Velites done!

Painting has been going on at a reasonable pace and the DBA army is almost done except for finishing the bases. Somehow it feels that these figures took longer than either the Hastati or Prinicpes, but probably not by much. I did take a bit more care over the Triarii as befits their status, plus the colours are a little harder to paint for the colourblind amongst us. There was a bit of mixing with the reds, particularly on the shields, as I wanted them to be a bit darker than the tunics so I added a bit of Vallejo Brown Violet to Flat Red to acheive that. I hope you like the results!

On to the cavalry next...gulp!

Monday, 12 July 2010

Principes done!

Here's some photos of the completed Principes for the DBA army. I have to say, I'm really liking prepping this army, if for no other reason than I've done 6 bases and I'm half done!!

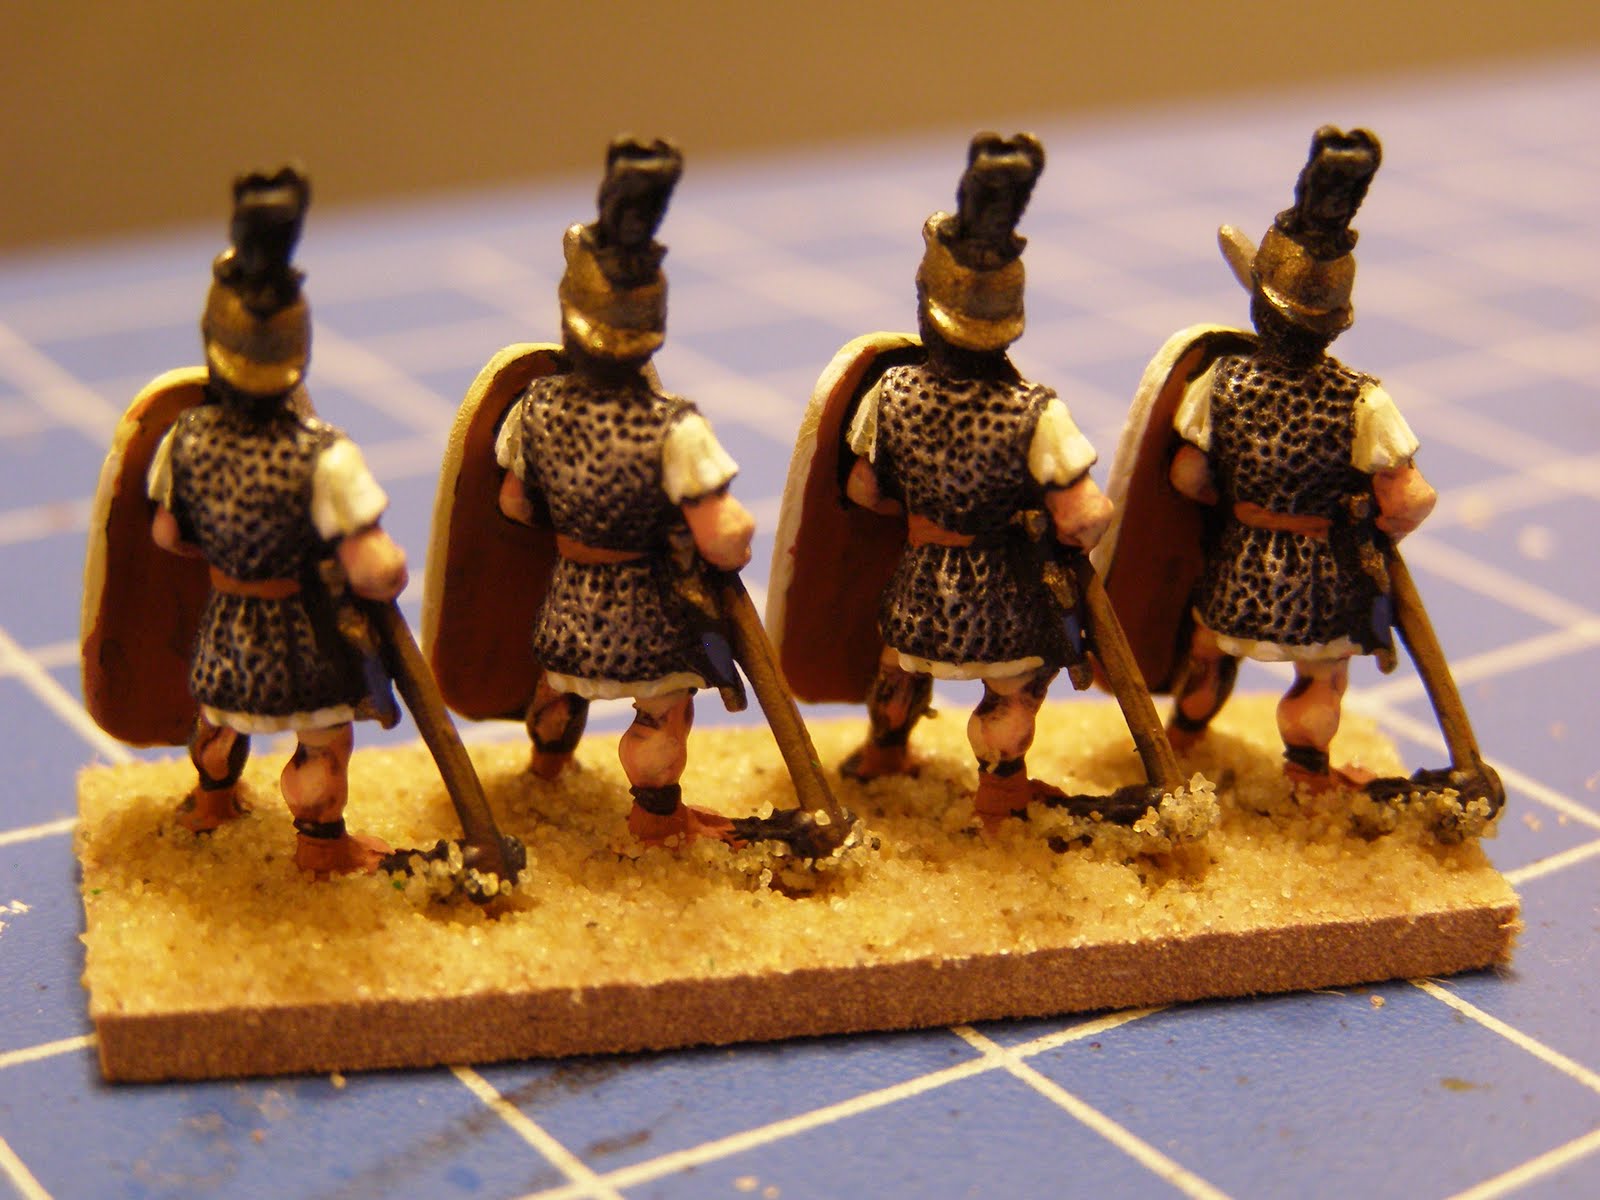
For these, I decided to do white tunics and shields again, as the chainmail really makes them stand out from the Hastati but keep some uniformity. It also means they could be grouped together into a single battlegroup for FOG eventually. However, I decided to try a different tack with the white this time. The Hastati were base coated with Vallejo German Camo Beige and highlighted with Iraqui Sand and white, which worked well, but I felt the contrast was a bit too much and it made the shields a pig to paint. For these I used Vallejo Beige to basecoat with Pale Sand and white highlights. I think the shields look better but perhaps the effect is too subtle on the tunic sleeves, though the Principes can afford better bleach! I will be doing some white tunics on the psiloi too, so I might try to meet half way and start with Iraqui Sand. We'll see!

Wednesday, 7 July 2010

Veni vidi pictorati

OK, the Latin's probably wrong, but you get the idea...!

Well amongst the furious painting of 1/285 aircraft for the Check Your 6! campaign (more on that later) I have only managed to paint up some 15mm Romans from my Essex DBA pack!! These are the first Ancients figures I think I've ever painted and I'm quite happy with the result. On to the Principes now, which should be a lot quicker due to all the chainmail. The intention is to get playing DBA quite soon and then build on the bases up to a FOG army. That'll take a while I think, but as long as we can play DBA in the meantime, I'm happy. Of course, it means I'll need to paint the Seleucids, too, to guarantee an opponent (I'm a staunch believer in doing opposing sides in whatever period I intend to game). Enough of the waffle...on to the Hastati :-

I'm undecided on whether to get shield transfers for these. They would look good, but I actually quite like the plain white shields, too. I might buy a sheet just to try them out...hmmmm! The bases need painted and dressed, too. Hopefully get that done tonight.

I mentioned the CY6! game at the top. Well, I'm pretty annoyed with my camera that told me the battery was fine when I left the house, but decided to tell me it was empty when I started to take pictures. James had a genius idea to recreate the key moments at home which I'm going to do, but it'll take me a couple of days to get round to it, so the battle report will have to wait.

Thursday, 1 July 2010

On patrol

Last Friday saw a couple of cracking games take place at my brothers. The first was a Nuts! game which saw a patrol of British clashing with a patrol of Fallschirmjaeger and the second was a Check Your 6! scenario plucked out of my newly acquired copy of 'Over the Channel' (a scenario and campaign book from the publishers of the rules).

On patrol with Tommy and Jerry
First up was the Nuts! game. This was the first time that either Carl or James had played Nuts!, so I just officiated. It's also the first time James has ever played a skirmish level game, and probably the first time Carl has since we played WH40K in the dim and distant past. The table was prepared with plenty of hedges and walls for cover and a single hovel in the middle. Both sides had orders to send out a patrol and check the area out, so they were just going to 'bump' into each other. Carl sent his Tommies straight towards the building while James split his squad and approached frontally with his star leading the MG-34 team and a couple of riflemen, while his Cpl led the rest around the flank.


This led to a flanking shot at the advancing British from the NCO's MP-40 which sent them scurrying back to cover. The rest of the game was a bit strange as both sides concentrated their forces around the building and a straight up fire-fight began. The Germans already had the upper hand, though, with some Tommies ducked back from the SMG fire, so there was only ever going to be one outcome - grenades! James' Cpl readied his grenade and bravely charged forward to lob it over the hedge, stunning his victims. He promptly charged forward and dispatched a poor soul with his knife - those Fallschirmjaeger are a dastardly bunch!


However, revenge was taken as Carl's Bren team managed to set up and hose bullet's in the German's direction, killing him outright! The game was up, though! More 'potato-mashers' began landing amongst the British troops and soon enough the casualties began to mount and their morale waver, such that Carl conceded the game and the British section was captured by the enemy patrol.

Come fly with me...!
The next game took the fight into the air with a pure fighter based scenario set during the Battle of Britain. As we'd all played CY6! before, I didn't need to umpire so we all played. James had a schwarm of 4 Bf-109s (led by an ace - the scenario is based on Adolf Galland, I think) which were bouncing two flights of 3 Hurricanes.
Phase1 - Although the Luftwaffe were outnumbered 6:4 they had the tactical advantage of starting above and behind and at faster speeds so the game started very quickly. James' lead aircraft had a pass at us, but fortunately missed with everything and the 2 Hurricane flights split right and left. James' lead rotte tailed Carl's flight, while his second scythed across the first's path, causing the ace pilot to rely on his cat-like reactions and avoid a collision. I imagine that there would be a dressing down if they both survived the mission!

Phase 2 - The second phase of the engagement saw Carl ducking and weaving like a madman to avoid the guns of the enemy, and true enough, James just could not get a good enough firing solution to hit anything. I split my flight, sending my Vet and Green pilots after James' lead rotte, leaving my Skilled pilot to bravely engage his two other fighters on his own. A very well timed and unsuspected Immelman saw my pilot loop over and appear on the left quarter of one of the 109s at point blank range. The burst of rounds resulted in black smoke streaming from the German fighter, which duly twisted and dived away. This let my other two Hurricanes slip away from that tussle and set off after the fighters that were chasing Carl down.

Phase 3 - End game! Carl's acrobatics had inevitably cost him altitude in order to retain speed, which had dragged James lead rotte down with them. This let my two planes get the advantage and with a spectacular long range shot, the ace pilot's wingman was shot down in a single burst. At the same time, his other two planes were actually on the defensive against the lone Skilled Hurricane! It didn't look too good for the Luftwaffe at this point. One pilot was downed and one was struggling with engine damage. It was time for the Ace to act and he finally managed to get a tailing shot against Carl's Hurricanes as they bottomed out at TAL 1. The fearsome cannon claimed their first victim of the engagement and the trailing Green Hurricane of Carl's flight fell out of the sky and into the Channel. But in his concentration, the Ace neglected to watch out for my Hurricanes who pounced from above and amazingly it was my Green pilot who landed the telling shot, causing the Ace's engine to smoke. The game was up! James conceded defeat and we left it there. His Ace probably was going to end up in the drink and his other two would probably manage to fight their way home! VP wise it was an RAF victory, but if James first pass at us had been better, then who knows how this might have panned out.
Related Posts Plugin for WordPress, Blogger...